Applying car wax yourself is a satisfying way to achieve a professional-quality finish on your vehicle without the high cost of a detailer. With the right tools and techniques, you can enhance your car’s shine, protect its paint, and enjoy a glossy, showroom-quality look. Here’s a step-by-step guide to help you master the art of DIY car waxing.
Gather Your Supplies
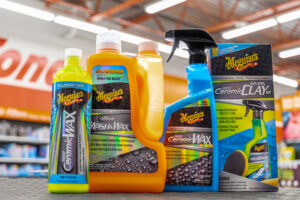
Before you start waxing, make sure you have all the necessary supplies. You’ll need car wax (choose between paste, liquid, or spray), a clean microfiber wash mitt, microfiber towels, a foam applicator pad, and possibly a clay bar if your car’s paint is particularly rough. Having these items ready will ensure a smooth and efficient waxing process.
Wash Your Car
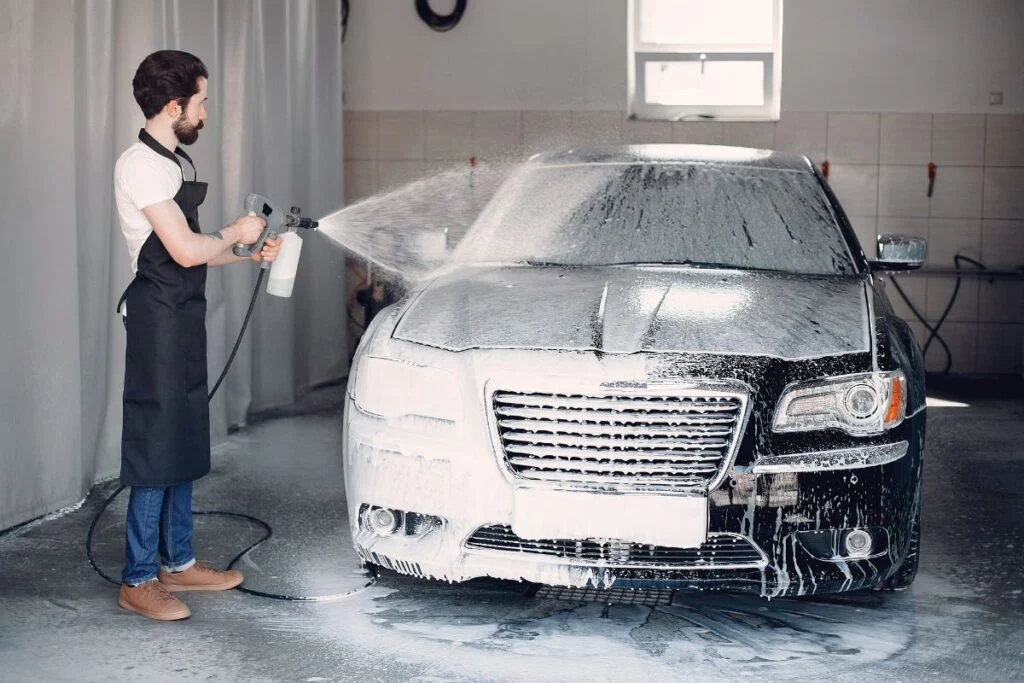
Begin by washing your car thoroughly to remove any dirt, grime, and road contaminants. Use a high-quality car wash soap and a microfiber wash mitt to gently clean the surface. Pay special attention to areas with visible dirt or grime. Rinse the car thoroughly with clean water, then dry it completely with a clean microfiber towel. A dry surface is essential for the wax to adhere properly and evenly.
Prepare the Surface
If your car’s paint is rough or has embedded contaminants, use a clay bar to smooth the surface before waxing. To do this, spray a clay lubricant onto a small section of the paint and gently rub the clay bar over the area in a back-and-forth motion. This process removes any impurities and leaves the surface smooth, ensuring better wax adhesion. After claying, wipe the area with a clean microfiber towel to remove any residue.
Apply the Wax
Choose a small section of your car to start with, such as one panel or half of the hood. Apply a small amount of wax to a foam applicator pad or microfiber towel. Work the wax into the paint using circular motions, applying light pressure. Ensure even coverage by working in small sections and avoid using too much wax, as a thin, even layer is more effective. Follow the manufacturer’s instructions for the specific wax you’re using regarding application and curing times.
Allow the Wax to Haze
After applying the wax to a section, let it haze over as instructed by the wax manufacturer. This typically takes about 5 to 10 minutes. The hazing process allows the wax to bond with the paint and form a protective layer. Avoid allowing the wax to dry too long, as this can make it more difficult to remove.
Buff Off the Wax
Once the wax has hazed, it’s time to buff it off. Use a clean, dry microfiber towel to gently wipe away the wax, turning the towel frequently to avoid smudging. Buff the area in circular motions to reveal the shine. Ensure that all residue is removed for a clear, glossy finish. If necessary, use additional microfiber towels to ensure a streak-free shine.
Repeat as Needed
Continue the process of applying, hazing, and buffing the wax on the remaining sections of your car. Work systematically to ensure even coverage across the entire vehicle. If you’re using a paste or liquid wax, you may need to apply a second coat for additional protection and shine. Follow the instructions on the wax packaging for guidance on the number of coats.
Clean Up
After you’ve completed waxing your car, clean your tools and supplies. Rinse out the foam applicator pad and microfiber towels to remove any wax residue. Allow them to air dry completely before storing them for future use. Proper maintenance of your tools ensures they remain in good condition and ready for your next waxing session.
Maintain Your Waxed Finish
To keep your car’s waxed finish looking its best, avoid washing with harsh chemicals or abrasive sponges that could strip away the wax. Use a gentle car wash soap and microfiber towels to clean the surface. Consider applying a quick detailer or spray wax between full waxings to maintain the shine and extend the life of the wax.
Conclusion
Applying car wax yourself is a straightforward process that can yield impressive results with a bit of practice. By following these steps—gathering supplies, washing and preparing the surface, applying and buffing the wax, and maintaining your finish—you’ll achieve a beautiful, glossy shine that enhances and protects your vehicle. Enjoy the satisfaction of a job well done and the pride of maintaining your car’s appearance with your own hands.


